Hair & Fur
Tips and Tricks
In 3ds Max 2010, V-Ray supports native rendering of the 3ds Max Hair&Fur world-space modifier. Here are some notes on the implementation.
Note: If you use 3ds Max Design 2010, you may get a crash when attempting to render Hair&Fur with V-Ray. To resolve the issue, go to the 3ds Max main menu > Customize > Custom UI and Defaults Switcher... and select a non-DesignVIZ preset (e.g. MAX.vray). Restart 3ds Max for the new settings to take effect. You should now be able to render Hair&Fur with V-Ray properly.
-
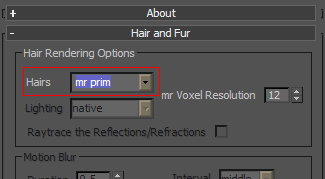
To enable native rendering of the Hair&Fur modifier, select the mr prim option for the Hairs parameter of the Hair and Fur render effect:
-
In order to render the hair geometry with 3d motion blur, you need to set the motion blur mode for the hair source to Object in the source node properties:
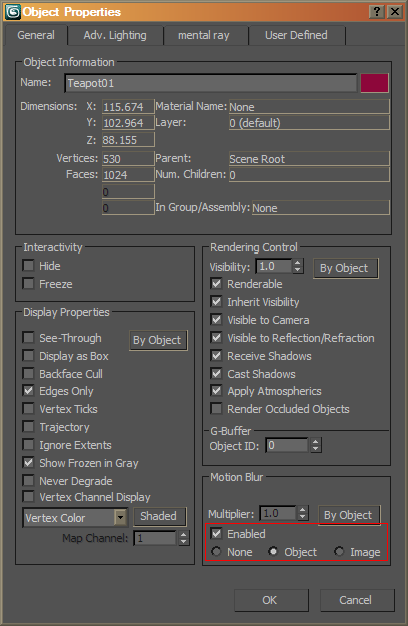
Note that the duration and position of the motion blur interval for the Hair&Fur effect are controlled from the Hair&Fur render effect, rather than from the respective V-Ray settings.
-
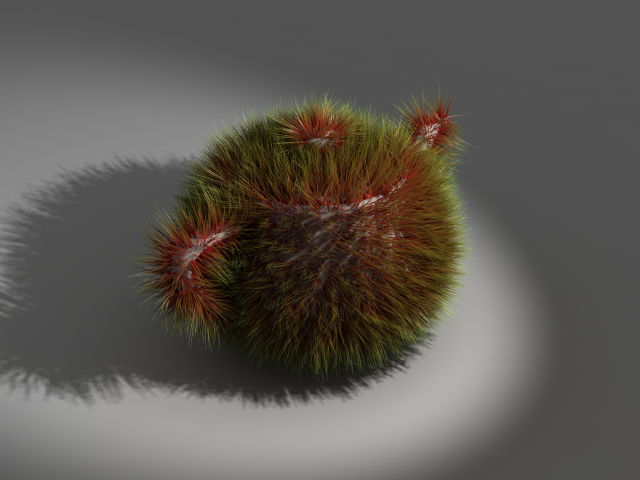
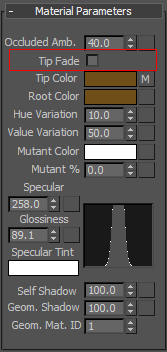
To speed up the rendering of the hair, you can turn off the Tip fade parameter in the Material Parameters section of the Hair and Fur modifier. V-Ray will work fine with this option on if necessary, but the render times might be substantially increased because of the semi-transparent hairs:
-
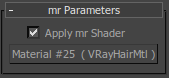
To apply a custom material to the hair, use the mr Parameters rollout: